Well, in the last three weeks we’ve achieved a fair bit of small but critical works, in the run up to the cars first outing at Brands next weekend.
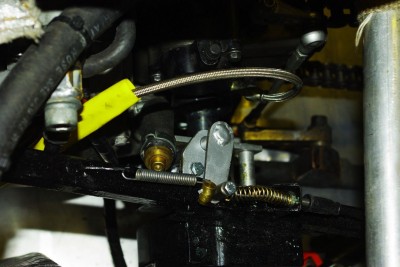 First up I created, an actuation mechanism for the reverse system, so that I could operate it by a simple tension cable, and solenoid. I’m fairly sure that leaping out of the car, unclipping the bodywork and actuating the thing using a screwdriver would probably fail scrutineering. So a day spent with a Tig welder, and some lumps of steel resulted in this beastie.
It is basically a bell crank with two actuating arms that run in a slot on the collar of the reverse. It is cable actuated and double spring loaded into the safe position. Of course this then required routing of the cable , and building of a new actuation arm in the cockpit…. all of which wiled away a few hours. And I also had to re route the clutch hydraulic line in the process.
With the reverse now operating correctly, it became apparent that it is of course in the way of the clutch cover, and so would need to be fairly frequently removed to change sprockets. so I’ve made mounting and demounting a simple two bolt affair, and the electrics all run through a nice high current two pole connector. I have to say I was quite pleased. the thing will drive the car up the slope on my drive and over the 50mm block simultaneously. And I got quite carried away with it, as it actually seems to make manoeuvring the beast on my own, quite a pleasant process, and pretty reliable to boot.
I obviously got over confident, and somehow tried to move the car using the reverse with it still in gear. The reverse wound up, the dogs engaged, but the car didn’t move. The reverse drive continued to rotate and it promptly stretched & sheared the connecting bolt in the end of the output sprocket. ARSE!…. ARSE, bloody hell! That’s the output shaft of the gearbox b**gred…. now I need to change the entire gearbox casette… Arse.
Duncan runs home for his screw extractors and I attack the stub of the bolt with a centre drill, whereupon it spins, I realise then of course, that the dog itself acts as a locknut, and because I haven’t thread locked it, the broken stub just spins straight out. Phew!….. and on reflection quite a nice safe failure mode, in case I’m so stupid again.
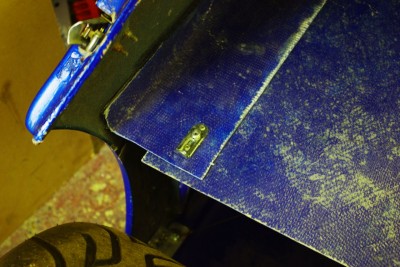
Duncan cracks on with preparing the side ducts, by gluing in place the duct roofs, which link the side pods to the car, and I fit the 3 slide locks to both the left and right hand sides, to finish the mounting process. With these fitted up the completely remodelled side pods are now complete, and I have to say the new arrangement is fantastically rigid. Far better than my expectations.
So we now focus on the 50 or so little snag and check jobs needed to get the beastie ready for Brands.
These include .
- Painting the scratches and scrapes on the roll cage.
- Bolt checking the complete car
- Making new radiator cowls for the rad exits to stop tyre debris damaging the rads,
- Bleeding the brakes,
 Cleaning the inside and outside (as best as I can with skanky old ali),
- Getting extinguisher serviced and refitted (the last service had now expired)
- Refitting rear floor
- Securing exhaust
- cable tying, lock wiring, and chafe protecting everything in sight!
- Fit 15 point sprocket for Brands & tension chain.
- Finding, charging and refitting palms, video recorers and Dl1s
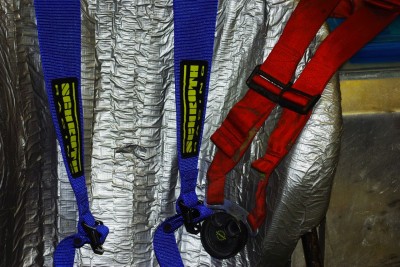
- Fitting nice new Shcroth racing harnesses as my old ones had expired,
- In addition i’ve taxed the Winnebago, and taken it for a drive, and checked that all is well with the trailer too.
- Put new numbers on and Class B stickers.
- etc etc
Interestingly Schroth now advocate using only 2″ lapstraps, as they fit better around the pelvis, and therefore most people can get them tighter, and tighter = safer. Anyway the new ones are blue, which goes better with the blue/silver colour scheme of the car, than the old red ones. Judging by their colour, they are showing all of their 5 years of hard service.
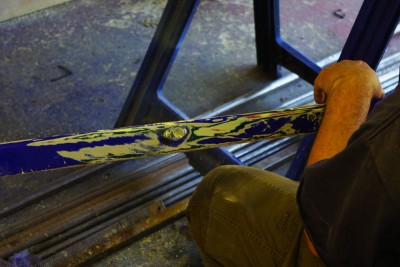
With that all done, and it now probable (barring mishaps) that we’ll make it to Brands, we might as well try and get the beastie to look as good as possible. Last year at the Birket I got punted off by a Porche who left some nasty wheel rubs along the right hand side of the car, plus the new edges of the air way slots are a bit ragged so could do with some tidying. So Dunc and I set about these, with a view to repainting the right hand side pod. And on a warm balmy evening I started chucking Subaru blue paint around again
So we went from this, in which you can read the life of this car like a stratified geological survey.
To this, as usual the paint has reacted oddly with something in one of the sub coats.
There is definitely something incompatible in one of the lower layers, but its not too bad from a distance, and nothing that a judiciously placed sticker can’t fix.
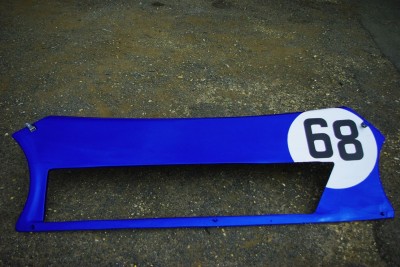
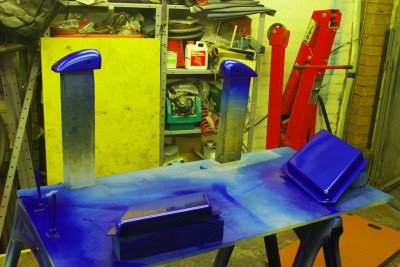
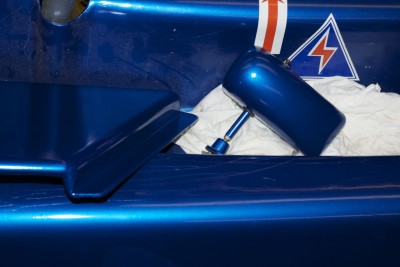
On Sunday I decided to paint the side quarter lozenges, that fit in the airducts, and even the wing mirrors, again the surface is hardly a mirror, but it’ll do. Long term I may also paint the insides of the side ducts, but that is a much bigger job, so will have to wait.
So all that’s left is to refit the front floor, glue the newly painted bits in place, refit the wing mirrors and clean+polish the rest of the car so that it is nearly as shiny as the new paint. Oh and work out why the indicators aren’t working…. Something that we discovered last thing when doing a lights check.
Still Brands is only 4 days away , and we’re pretty much ready. I just now need to remember the routine of going racing ![]()
Ah yes. Turn up, qualify poorly, get lapped by Tim….. now I remember.
Anyway a picture of the newly painted components is below.

