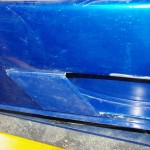
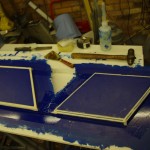
Right, Firstly I seem to have fixed (or at least circumvented) the image loading issues with WordPress, so I can get back in the game of updating this blog apologies for the interrupted service of late.
Secondly and more importantly watching the fist two races of the RGB season from the side of the track hasn’t been much fun… well it has been fun, but not as much as being in the car would have been, so its time to get this beast finished! Actually it was great fun watching Tim win first place in Class B in the first couple of races of the season. Well Done mate!
Duncan and I have been cracking on with the sidepods. Mounting up of the right hand side is now complete.
The new floor is fixed to the sides of the car using some aluminium strips and rivets. and its outside edge is supported by a tension wire at the front, and the frame of the aluminium radiator at the rear.
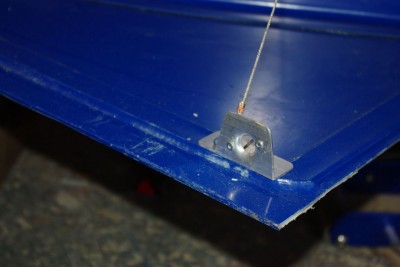
In the process we made up some natty little Ali brackets for the suspension wires and dzus fastener springs.
Then The rear curved wall was bonded in place, and Duncan made up a rear shroud to protect the radiator from debris thrown off the wheels. And that was the right hand side pretty much done. I’m just wating on some clips for the top, but it is to all intents finished.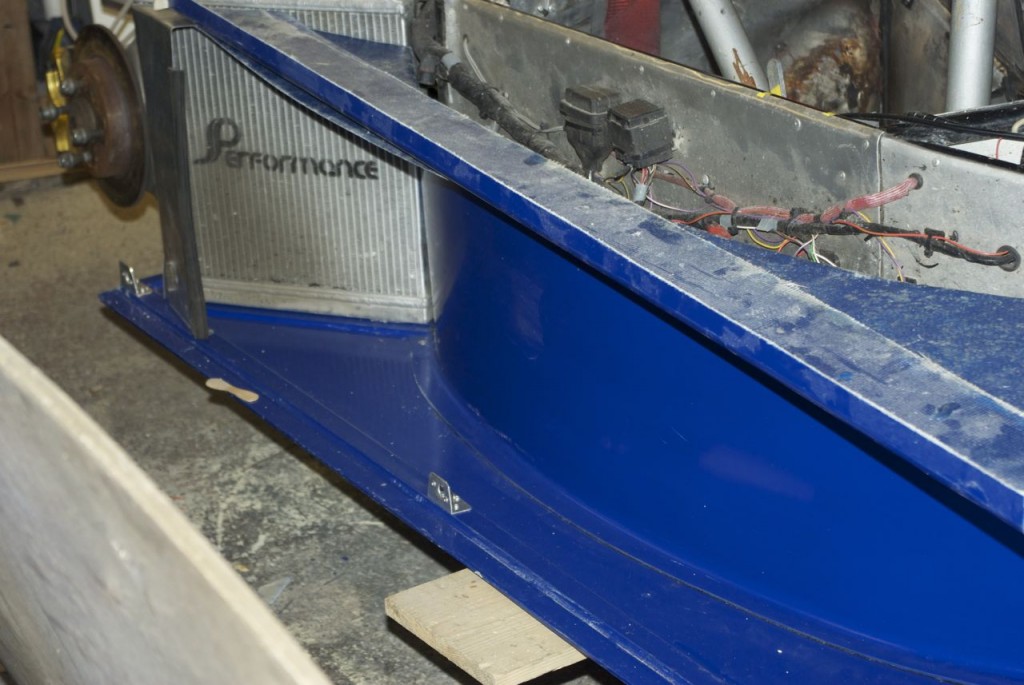
So on with the left hand side.
You may recall that the left hand side pod is a bit “busier” than the right hand side. It contains the battery, the horn and auxiliary fuel tank. These of course now had to be moved to accommodate the new much deeper side pod channel.
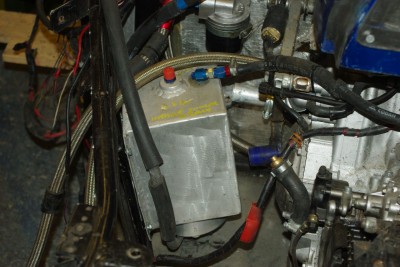
The only place I could find to put the tank was in the engine bay, and of course true to form it basically wanted to be mounted in free space, with no suitable surface available to rivet it to. So I spent a good few hours fabrication some mounting tags, with captive nuts to mount it to the chassis. This of course had the usual series of down stream effects, which needed rectifying, before I could even start fitting up the side. The tank itself will also need some heat shielding.
- The fuel pump wiring needed relocating and extending
- The solenoids to control the reverse and main start motors needed moving, with appropriate wiring changes
- The fuel lines need relocating and rebuilding
- The coolant system will need relocating, as a pipe currently wants to go right through the middle of the tank.
- The alternator cabling needed rebuilding
- + a bunch of other small stuff.
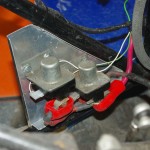 With most of that out of the way I could get on with fitting up the floor. Its now in place, with the appropriate tension fitting, and I’m now starting work on the left hand side cooling group. I’ve ordered another Aluminium radiator from Ebay, as the existing plastic+copper one was damaged when I got punted off by a Porker at the Birkett test last year.
So seen below is the current state of play.
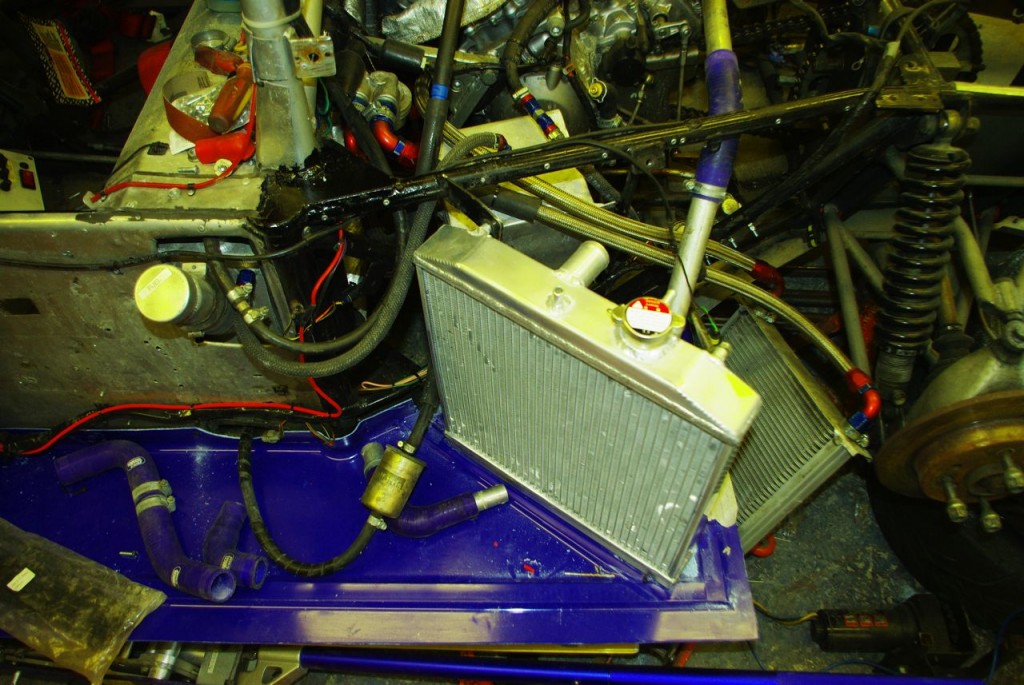 The rad is all mounted up, the oil cooler is not yet in its final position, the fuel lines (bar one) and electrics are all resolved, and the proposed reroute of the main coolant pipe across the rear of the engine bay is in progress. I’m waiting on a couple of fuel unions, I’m going to to replace the fuel filter and I’ve still got the fan and cooler to fit in the new position and I could be in a position to run the engine again, for the first time since last year. Good Job too as I’m starting to target either a race meeting or a track day in mid May.
On the subject of cooling, I’ve ordered up one of these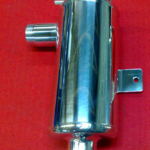 , its a replacement water header tank/swirl pot designed to do air bubble extraction. I got the Idea after chatting to Darcy Smith over at www.barnwellgarage.com. Darcy runs a Radical SR4, and his son Josh used to run a beautifully prepared Pheonix in the RGB championship, but now races his college’s Clubsport. Both are thoroughly nice chaps and it was while I was bemoaning my cooling problems to Darcy at the Birkett last year that he invited me to crawl over the engine bay of his Radical, and have at look at his cooling circuit. The Radical has a swirl pot and Darcy commented that he had the same problems as me on Josh’s Pheonix until he put one on that too. Then problem solved
 ![]() .
.
Mine will have a couple of bosses for temp sensor and a sight tube for coolant level. Lets hope we finally get these temperatures under control.
The last thing to report on this big update, is that I’ve done yet more composite moulding. In about an hour last Sunday I knocked up this mould from the h usual contiboard and plasticene materials.
24 hours, and 2-3 layers of CSM later out popped this moulding, and a couple of hours after that, and a good fettling by Duncan resulted in it fitting into the right hand side pod. I’ve moulded it with a semi circular front edge, so that I can build it up with a little filler to make a proper Aerodynamic edge. It sticks out about 35mm from the body work, but whether it is above the boundary layer is anyone’s guess. It should however be slightly more efficient than the sharp cut edge of the GRP.


