Most of this weekend seems to have been spent apply mould release wax to the side pod channel mould, and then buffing it off again. On new moulds, particularly large ones, its is good practice to apply a fair few coats before the mould’s first use. Some sources say as many as 12, but I guess that is for production use. So I made do with four, and even then my shoulders hurt afterwards. Actually before I applied the wax, I decided that having a textured surface on the moulding really wasn’t good enough, so I set about it with some 120 grit paper, then 380, then 600, then 1000 grit and 3 hours later I’d got the surface finish to be much, much better.
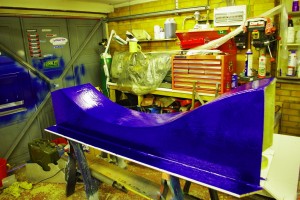
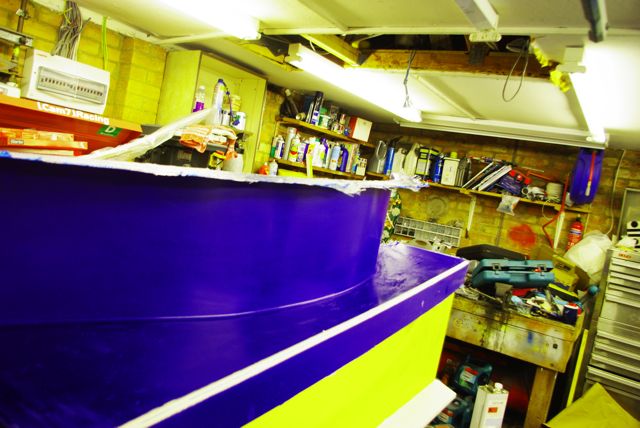
After that I fastened it down onto a contiboard based board, and made plasticine fillet at the bottom joint margin. Then it was on with the release agent, and a coat of blue gelcoat (500cc). This picture is actually the back of the mould, and the small strip of gelcoat will make the return where the side pod channel will fix to the floor. The other side of the mould is fully gelled up as this is for the right hand side channel. When I do the left hand side one, I’ll fully gelcoat this side, and have a short return on the other.
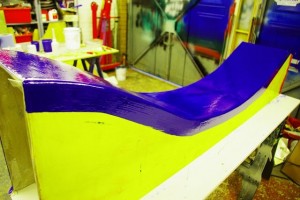
So there then followed a layer of glass tissue, 1 layer of CSM, and 1 layer of Woven Rovings. and once again I’m smelling of styrene. But as I’m now working on the outside of a male mould at least this is now pretty straight forward to layup, and consolidate with a roller. Although the compound curve of the top surface, makes wrapping CSM, and woven glass round the edge a bit challenging. To help you orientate the part, the horizontal return laid up on the face of the contibard will form a mating surface with the vertical side of the upper side pod. and the big ski jump at the right hand side will actually form the channel behind the front wheels
So after about 3 hours, while the glass was still a bit green and flexible, I released the part from the mould, and voila, see below for the results. I briefly plonked it on top of the mould so you could see the finished part…. although it is actually upside down. As it was still green I then placed it back on the mould so that it adopts the correct shape as it properly hardens off
A quick tip, that I learned tonight,… if your doing a partial layup on a mould surface you tend to get lots of drips and runs on the area where you’re not producing the moulding, I was concerned that this may be hard or a least terribly tedious to remove ,as without and fibre reinforcement I might have to chip each drip and run off individually, possibly damaging the mould in the process. So with my last batch of resin, I made a little extra and painted it on the unused part of the mould. Into this I patted all my small offcuts of CSM and rovings and left them to go “green”. Once it had greened off I just pulled the single layer loose sheet, and it came off a treat, cleaning up all the overspill from the mould in the process. Lovely ![]()
Any way enough of that… this is what your waiting to see. As I said it is upside down, But you can get the idea if you imagine the front wheels are at the left of the picture. The white line, by the way is the residue of the plasticine fillet between the base board and the mould, that will clean off with hot water to reveal a nice smooth radius. And below you can see the mould has released cleanly, plus my camera really likes yellow!
The sharp eyed among you will spot that the extreme left hand edge of the “floor” part is curving under its own weight. This is mostly because the part is still green, but I may need to add some additional stiffeners to this bit. Tomorrow, I’ll trim both this and the floor and put them together so that you can see if my plan has come together.

