 Many hours today again spent breathing styrene… which I have to say I rather like. :-)
Firstly we made another floor in the right hand side mould. This time, instead of using ply as the longitudinal stiffeners we hadded two extra layers of CSM, and some 3mm coremat, before finishing off with Roven Wovings.
So there followed the usual routine of wash down the mould, rewax, and re wipe the “sticky” bits with PVA release agent.
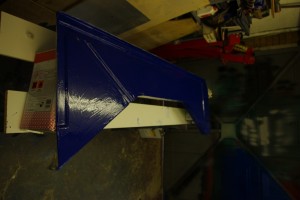
Before laying down the CSM we also laid down some extra 1″ strips of tissue into the strengthening channels to try and avoid the problems we had with the first moulding of air bubbles in the strengthening channels. We also did this one in blue rather than black, and I’m pleased to say that our extra bit of experience showed and the whole thing went down much better. Just before writing this blog entry I’ve just been into the garage and released the moulding and am happy to report that a) It has popped off the mould nicely, and b) there are no weakspots or gel coat bubbles. ![]()
Out of interest I also weighed the old aluminium floor and the new GRP one, I knew the new one was a bit light but it weighs just 1 Kilo. The aluminium one weighed in at 2Kg, its always nice to save some weight. ![]()

 With the car out on the drive the other side of the garage was devoted to Duncan working with his favourite material… a bit of tree wood. He was busy making a buck for the new side pod air channels. We’ve designed this (on the back of the proverbial fag packet) to be bi-directional. We should be able to use a single mould to lay up either side pod channel.
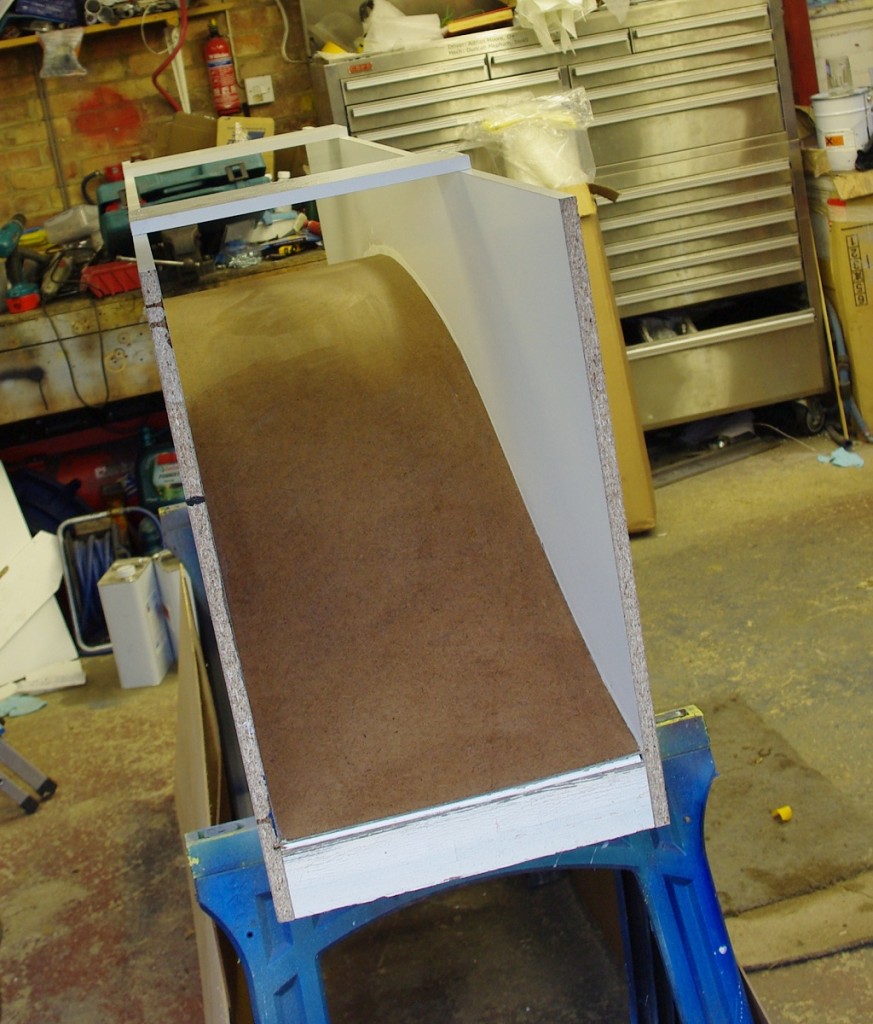
To make this buck we’ve come up a nice curvy shape that follows the side of the car, it’s a bit like the plan form of a formula ford. This we transferred to a hardboard template, and that in turn we used to route out identical channels in two sheets of Contiboard. While I was making the right hand side floor Duncan then joined the 2 sheets of Contiboard with some substantial blocks, and a another sheet of hard board. This results in a U shaped channel that matches the shape of the channels in the car.
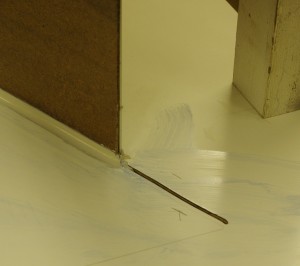
The hardboard was then stabilised in place by stuffing the gaps in front and behind with plasticine. We then waxed the hardboard a couple of times and finished the edges with curved fillets of plasticine. This gives me a nice u shapes structure, with smooth corners and 3D curves which will all add rigidity. This picture shoes the general structure. But overall the buck is huge, and should plainly flow a lot of air. I should point out that Duncan has cannily includes are small 1-2 degree draught angle to help component release.
I’ve also been thinking about supporting the new floors, even though they are pretty stiff, they still going to need supporting in the correct location on the car. For the moment my thinking is based around tension wires.
