 So having made a mould, it was time to make a floor. The plan was gelcoat,tissue, 1 layer of chopped strand mat, reinforcing strips of 6mm ply, and then a final layer of woven rovings. All laid up with polyester resin. For the edge of the floor which will be unsupported the plan is also to support this with a 100mm stretch of Kevlar laid up in epoxy resin, to add rigidity.
To be honest the layup precess went less than spectacularly well, the problems identified previously with not allowing enough spare space at the mould margins for the fibre to lay down properly, or trying to do too many direction changes too close to the edge, meant that it was a bit difficult at times. Still we live and learn.
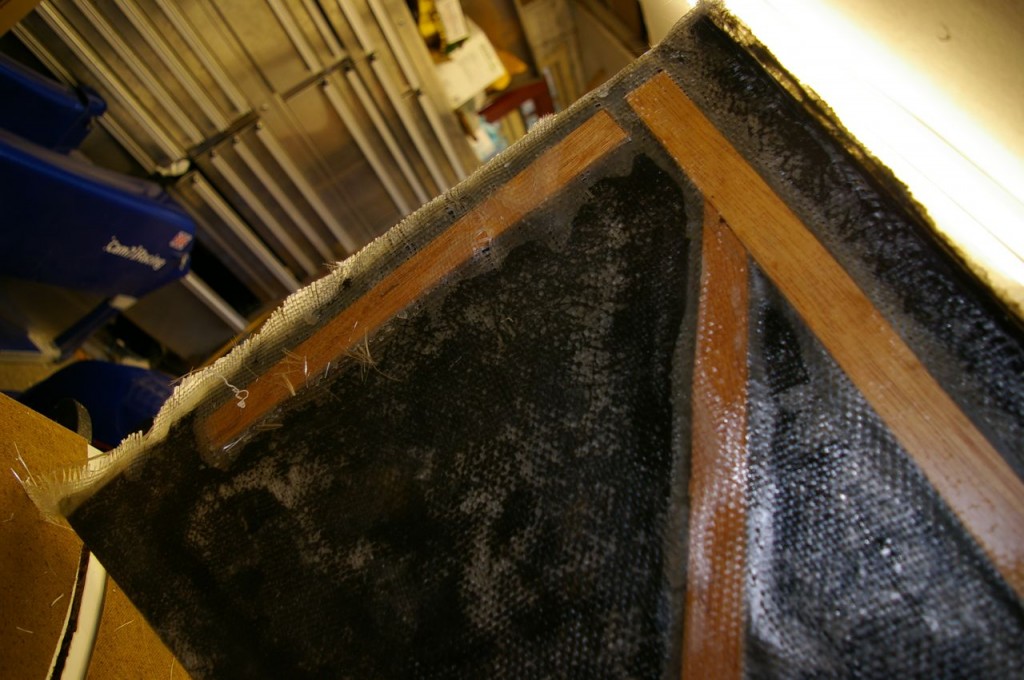
However the biggest problem came with getting the ply reinforcing to sit down properly in the moulded channels, and then get the woven rovings to glom down onto them.
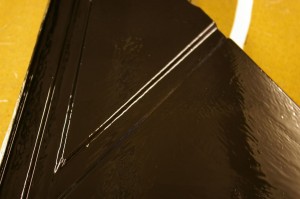
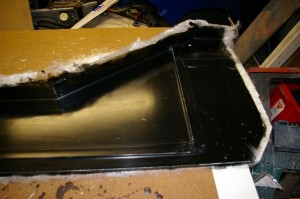
 Above it is pictured with just the the gel coat on it, this was then followed by the CSM. And in true Blue Peter fashion here’s the finished version. Which overall I’m quite pleased with.
As a first effort its not too bad. The gel is a bit thin in places on the up stand, and around the plywood braces there are some areas were the resin hasn’t penetrated and filled the voids properly, because the gel coat is plainly very flexible and unsupported. Once the gel hardens properly in these areas to form bubbles they will just break away.
On the plus side. The surface finish is ok for a floor, and it released from the mould nicely, so I can go ahead and have another go ![]() .
.
 This was the first time I used Woven Rovings in anger and they were a little difficult to get to lie down. This shot of the underside shows the problem with the ply, it has lifted the rovings and these areas plainly need to be cut back and repaired, with another layer, you can also see the obvious airgaps around the ply. As I was laying it up I could see the problem, but by then I was a bit committed So for Mk2 I’ll either chamfer the edges to get the ply to sit down better, use thinner ply, or add some specific addition reinforcing strips in the grooves to add the required stiffness , and abandon the ply altogether. Still at least the mould released properly so another attempt is an easy thing to do.
