
Ok I’ve been a bit lax on updates this year, so I thought I would consolidate a bunch updates into a series of reports for you. The first half of the season has certainly been eventful.
With the mini done, I could now devote a couple of evenings to getting the Sabre ready for the new RGB Season… Essentially I was running at about 4 weeks behind schedule in preparing for the 2013 season, but I HAD kept my promise to Katie and finished the mini, which was the important thing. Although I have made one stipulation in relation to the mini. If anyone ever compliments the car she is obligated to smile and say ” Yes, My lovely husband restored her for me!” …. apparently she says it a lot ![]()
You’ll recall I had a fabulous time, at the Birkett in what was basically a new car, with limited shake down testing, although I had curtailed the final session due to an odd high speed rumble which we thought was a failing CV joint. So I was keen to get out for some pre season testing with Snetterton with Tim and a few other RGBers before the start of the season. The idea was to conduct a proper shakedown, and start working on some speed and setup changes… which is something I didn’t manage at the Birkett.
I changed the CV joint. One other thing that needed attention was the breather system. At the Birkett it had chucked about a 0.25L of oil into the catch tank for every 10 minutes of running. That’s clearly a bad thing. So there was much discussion with Tony Gaunt and Bob Mortimer, who both run ZX10s in RGB as well. Bob had the same problem, but Tony had a solution. He basically suggested, that I cap off the internal ports to the exhaust for the PAIR valves in the Cam cover, then drill the hole below the recesses to make breather ports in the Cam Cover. If you do it so they align with the CAM bearing covers, and refit the reeds and covers back then you basically make a new breather at the top end of the engine, that breaths out of the PAIR valves on the cam cover.
If you then also connect the engine breather to a catch tank, via a T piece, with a 1 way valve in the leg that goes to the bottom of the catch tank, and the other leg goes to the top, you’ve basically built a recirculating breather system that drains any oil spat out back into the sump.
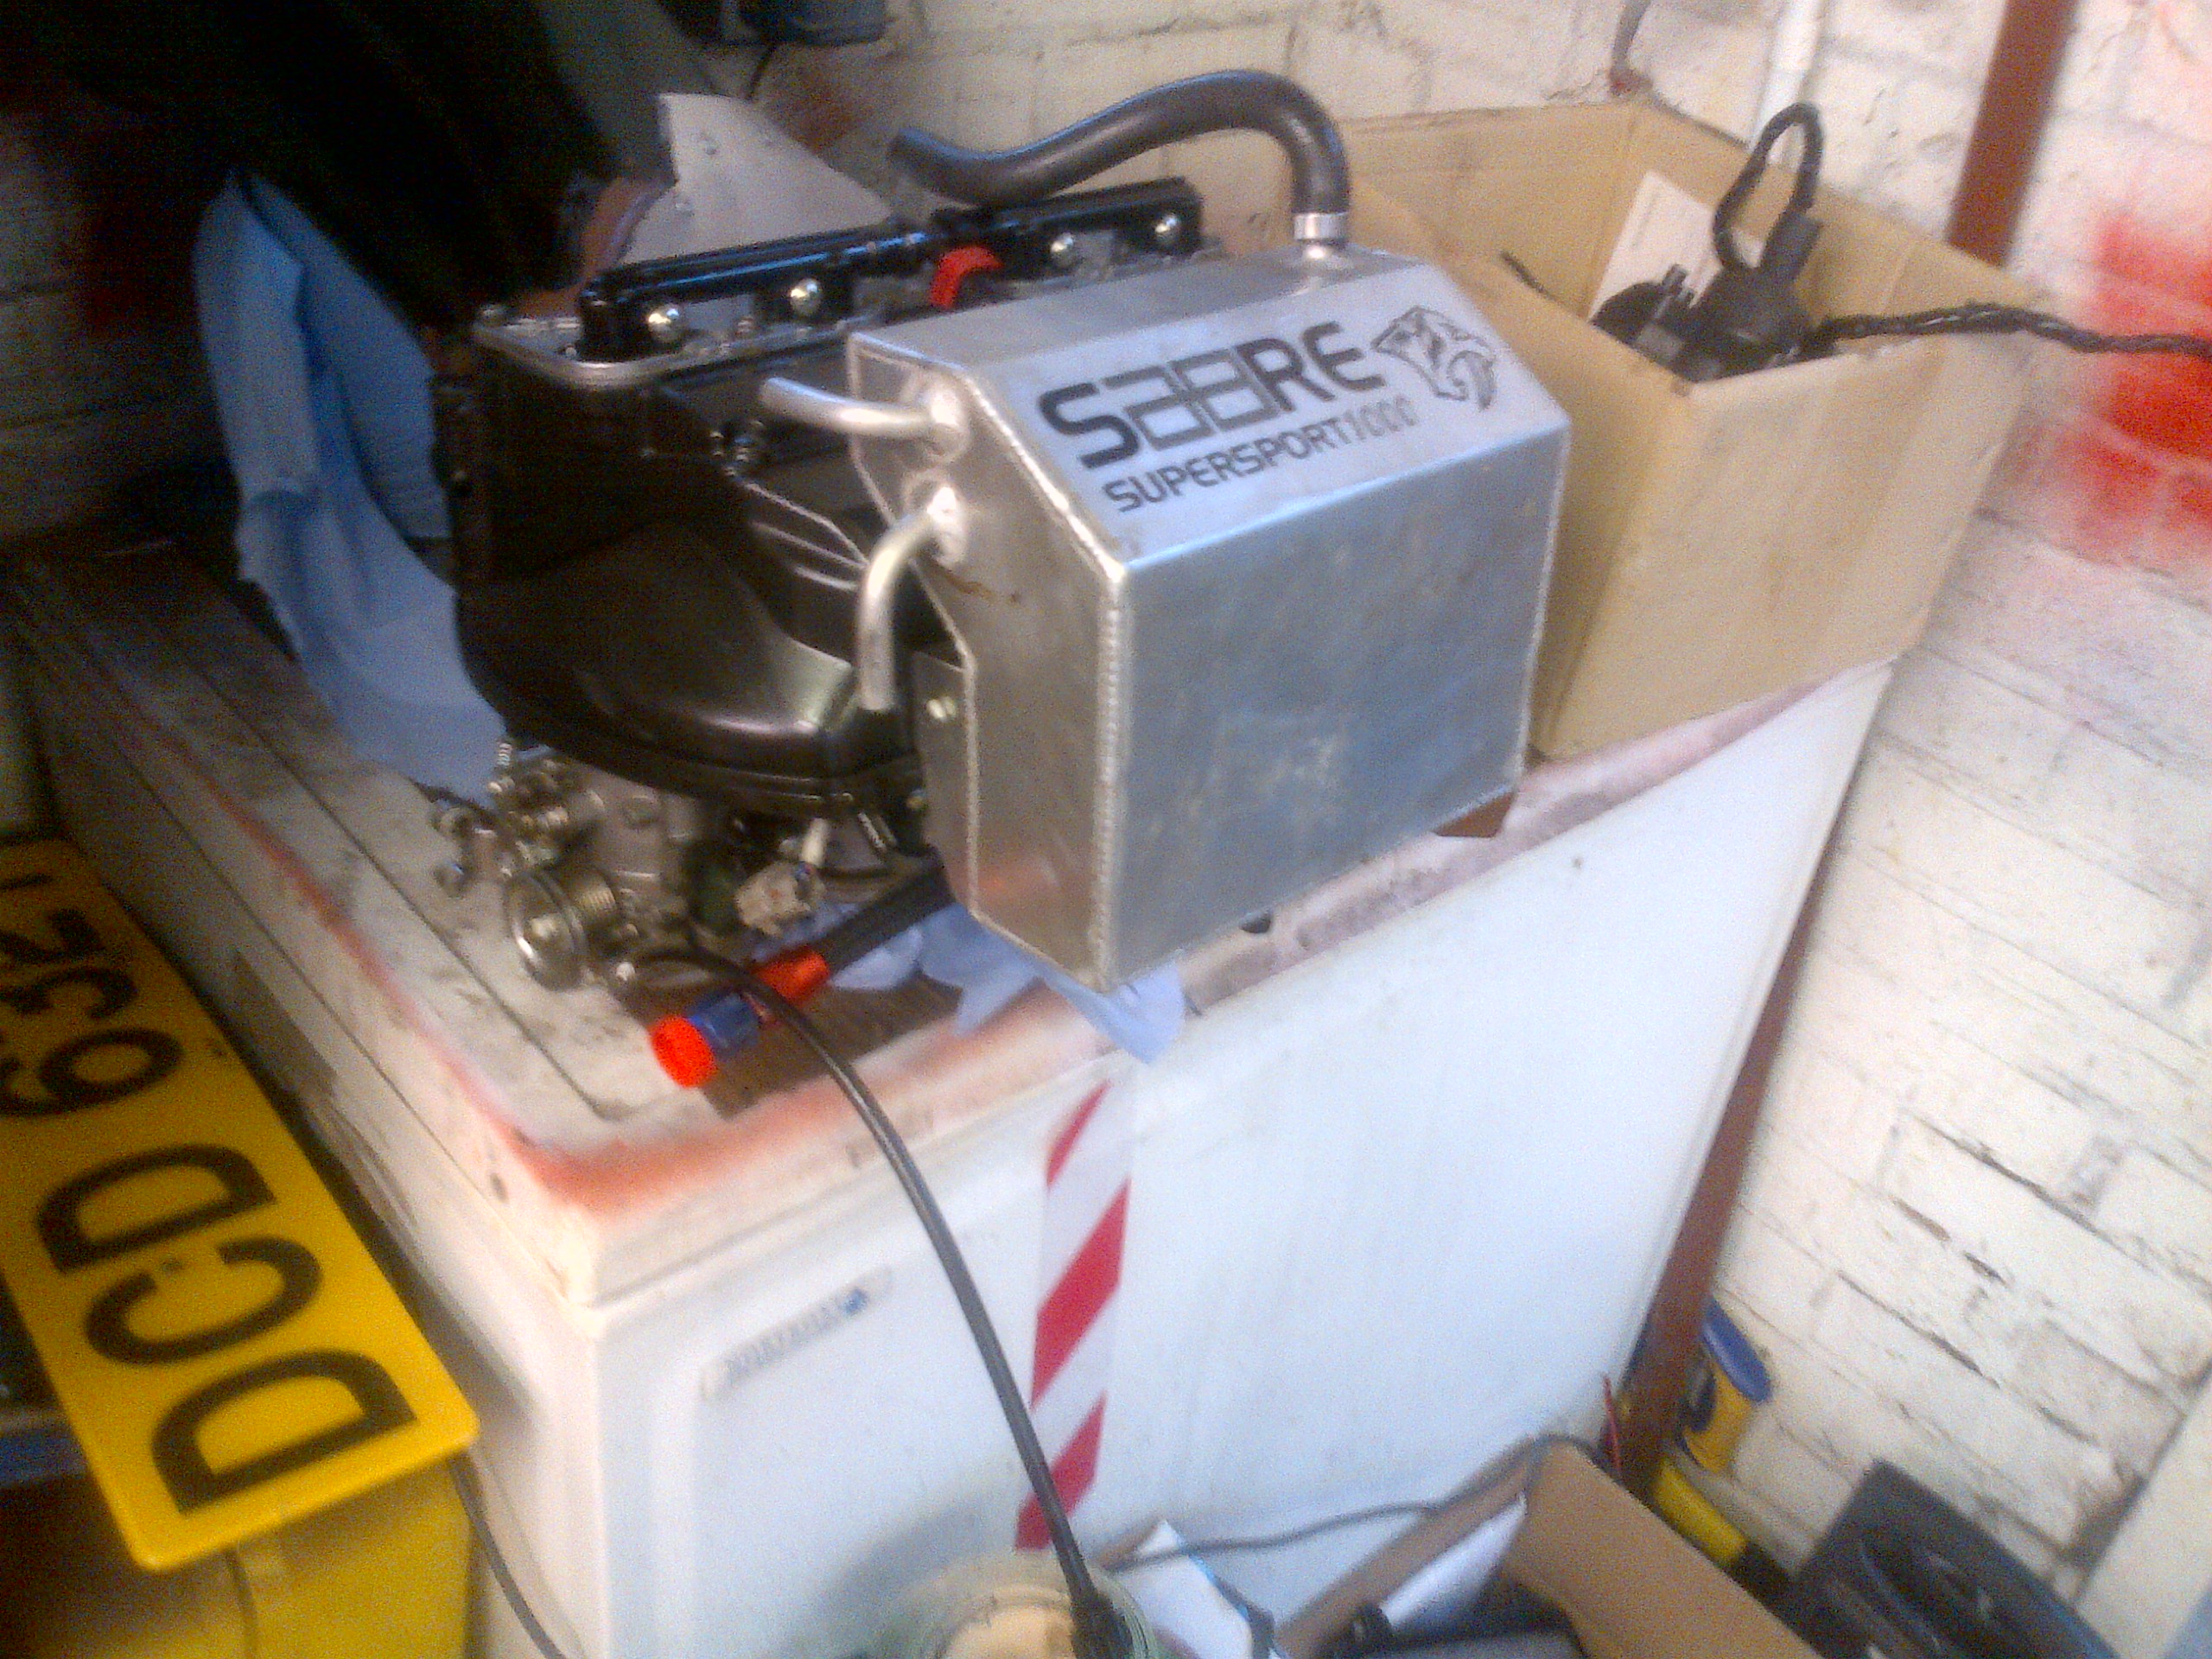
So I had a bespoke one made by Bryn over at Allyfab to fit the airbox, here’s a picture of the new catch tank in place , and it seems to work Ok. Thanks Tony.
The other thing I wanted to do was to change the electrical cut off from the Cartek silicon type to the big flippin solenoid type, the Cartek one had had a problem or too, and on an RGB car where the reverse is a big electric motor, the voltage drop when I engaged reverse was enough to kill the whole car , as the isolator dropped out. Not a good scenario.
I basically built a monostable circuit to latch the solenoid, and allow a one button push on the outside to kill everything, and still allow me to use an aircraft switch cover for the internal cut off toggle switch. I prefer aircraft covers as it allows me to kill the engine with a possibly inaccurate flail of a hand.
The actual changing of the cut off went OK, but afterwards she refused to run the fuel pump.Which is a sure sign of an ECU/Sensor fault. However unlike the very sensible Honda systems which flash the warning lights at you in a certain sequence to tell you the fault, the Kwaka will only display the codes on the LCD of the bike clocks… which I didn’t have and which I couldn’t get in time for the test. So I was basically reduced to doing a part by part test… and could I find the fault? Could I hell as like! Eventually in desperation I rigged up a fuel pump override switch , that at least allowed me to run the engine.
It was about this time that she developed a horrendous misfire, I just couldn’t get her to run on four cylinders. It was now the Tuesday before the test day on the Friday and I was running out of time. So there followed many a long evening chasing the fault. Swapping around parts and checking power commanders, and every thing else. Eventually I identified that no4 Exhaust wasn’t getting hot, and swapping of the stick coil, plugs and injectors between 3 and 4 didn’t move the problem. So it had to be wiring to the coil or injector. By now I was down to my last few strands of hair, having spent bloody hours chasing this fault, and was almost at the throwing spanners at the wall stage. I pulled the ECU plugs, and check the continuity of all the relevant wires, and it all checked out! S0 if the problem doesn’t move with the spark items, if the injectors, the plug, the stick coil and the wiring checks out then either the ECU is duff, or there’s a physical problem with the combustion chamber. Bugger don’t say she’s dropped a valve!
It was then that I noticed, that as I pushed the ECU plugs back on, a small wire moved. I gave it a gentle tug, and it came right out of the housing! I checked the wiring diagram and sure enough it was for Stick coil 4. I extended the cable slightly to ensure it wasn’t under tension and reinserted it into the plug, and the plug into the ecu. Hit the start button and bam she’s idling on 4 again . Brilliant! She still won’t run the fuel pump, but is running well enough to go testing. and with a whole 6 hours to spare!
Thanks goodness for that.
So off we went to Snetterton for a bit of pre season testing and my first outing on the new 300 layout. Despite the lack of prep time I was pretty confident of getting a some good seat time after the success of the Birkett; dynamically she was good, and despite the nagging doubts the engine seems to be running well. Sadly it wasn’t to be.
The test day dawned extremely wet, so when the track opened I went out for some tentative laps. So I was on lap 2 and just starting to lean on it a very tiny bit. I was just putting the power down after the new hairpin called Agostini on the infield section. When Bam! Something breaks and I’m pitched into the infield grass where I do a few graceful pirouettes on the wet grass! Once I get her collected, I make it back to the track, but its clear that something is very wrong at the back left corner, as the arse is all over the place, and she is virtually un-drivable even at walking pace. So I pull up at the Marshall’s post just past Oggies. I tried to get her out of the way but unfortunately the session is re flagged. I hate red flagging a test day for the other drivers… Hate It!.
I suspected that the left rear toe-link had failed, and this meant that the LR wheel was pointing in random directions, which had pitched me into the infield, and accounted for the “Wicked Shimmy” at walking pace. This was confirmed as the car was lifted up onto the flat bed and carted back to the paddock. At least I had a nice chat to the Marshall.
Once in the paddock, the cause of the failure became obvious. The left rear toe link has indeed sheared all the way through. It was a concentric top hat adjuster made from a 7\16 bolt. With a 7/1 6 thread on the outside, going into the end of the wishbone, it was drilled with a 3/8 LH thread on the inside, going all the way through. The toe link male rose joint goes into to the 3/8 LH thread to connect the wishbone to the upright, and because of the LH and RH threads you get more or less toe, by twiddling the central adjuster, and both ends have lock nuts to pinch it all in place.
These are perfectly sensible adjusters to have on a race car. Provided the rose joint male section goes all the way through the top hat concentric adjuster, and extends into the wishbone. If this happens then there is a ‘solid’ steel connection between the wish bone and the rose joint, as despite the various threads, in cross section there is metal all the way through the joint. Unfortunately on my installation the 3/8 rose joint, stopped exactly in line with the end of the wishbone, which meant that there was an air gap in the middle of the joint, right at the point of maximum stress, and the wheel toe control was relying on a really thin cylinder of steel which was threaded on both sides. Of course if you then tighten up the lock nut you then stress this flimsy cylinder of steel even further.
So with the stress plane passing directly at the end of the wishbone, I guess it was not surprise that it failed…. the lucky thing was that it pitched me into the infield onto the grass, rather than into the Armco… or worse still didn’t do it 30 seconds later when I was doing 100+Mph down the Revett/Bentley straight. I’ve decided to look on the bright side.
Still all that being said I obviously had broken car on Lap 2 of an expensive test day. So I hopped into a taxi and headed over to AB Performance for a spare. The new G2 cars use a different arrangement and Andy didn’t have a pre-made spare… so we nicked the unit off Derek Jones’s Sabre… (Thanks Mate) and I headed back to the circuit.
I had the car rebuilt and realigned in time for the first session after lunch, the track was now drying and I felt it was time to bang some laps in.
Unfortunately, This was not to be, 1.5 laps in , again at the Agostini hairpin. I got oil warning lights… I literally had time to think ” OIL ! What the DUCK?”.. and then the engine sized. and I was stranded at the same Marshall’s post again, we’re quite good friends now! Although this time I didn’t red flag the session…. It was red flagged because of a three ring circus of paddock marquees was being blown across the track in the high winds.
So that was it. Two sessions each 1.5 laps long. One ended with broken suspension, and one ended with a broken engine. Not the best day I’ve ever had in a racing car… so I lobbed it on the trailer and slunk off home with my tail between my legs.
While hunting for a new engine I spent some time at the lathe reinventing the rear toe link, On both sides the concentric adjuster “installs” to not have much meat in the wishbone, and after my infield excursion at Snetterton, I clearly wanted to rectify this. So I made these.
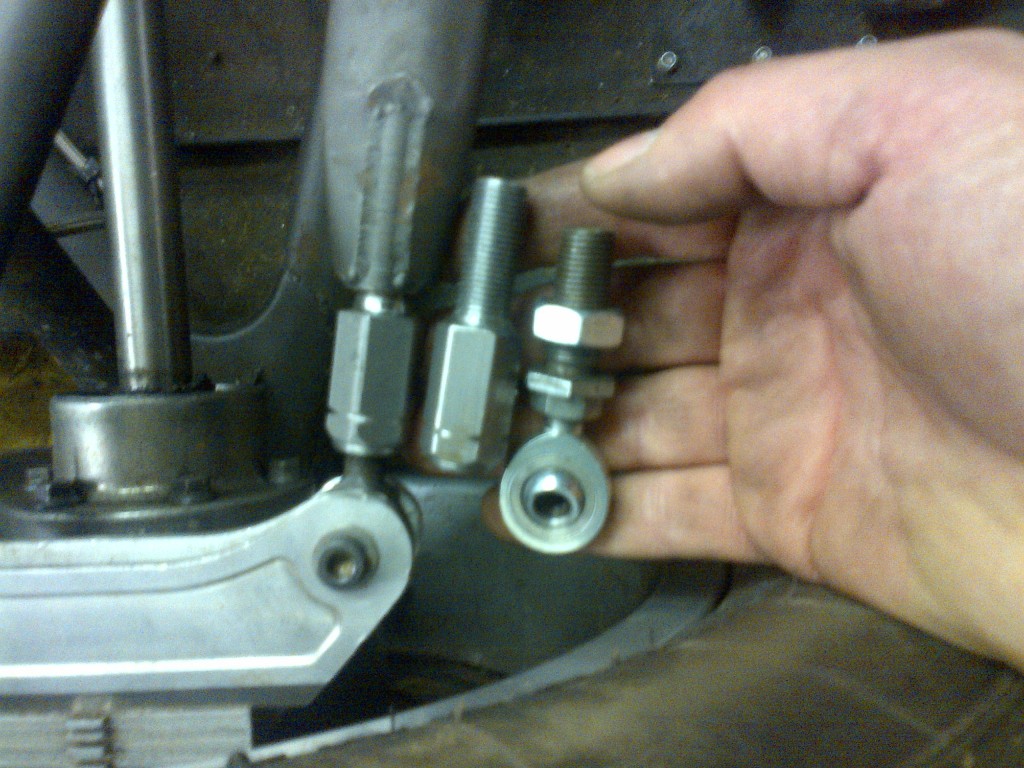
- New Toe Link

The old one is on the right and the new version is test fitted (I later fitted the locknuts). The new version isn’t hollow all the way through the middle, the large hex section is internally threaded for the rose joint, but solid well before the transition to the external thread that goes into the wishbone. It is obviously longer than the original, so we cut back the threaded bosses in the wishbone by about 10mm. But there is at least an inch of thread inside the wishbone , so plenty safe enough. You can see that there is a smooth transition at the shoulder to avoid stress raisers at that transition too.
So with the Brands Hatch RGB season opener approaching, I needed a new engine, unfortunately the long wet winter meant that very few bikers had been out playing on their superbikes, consequently they had been few accidents, and therefore there were few engines available. but eventually I did manage to find one.
It is a sad fact of club motorsport with bike engines that our engine supply comes from bikes that are being broken up, usually after some accident damage. My fervent hope is that nobody was hurt to supply my engines, and the former owner was safe in a pub, when his bike was hit while parked up, by some errant car.
I have opened up the old engine, and it is basically full of bits of bearing shell, and the crank is blued and scored… so it is properly dead. The good news is that it just pinched on the crank, and didn’t throw a rod… so is eminently repairable… I just need a new crank.
But why did it fail? I’ve opened it up, and this (apart from a million little gold bits of bearing shell) is what I found.
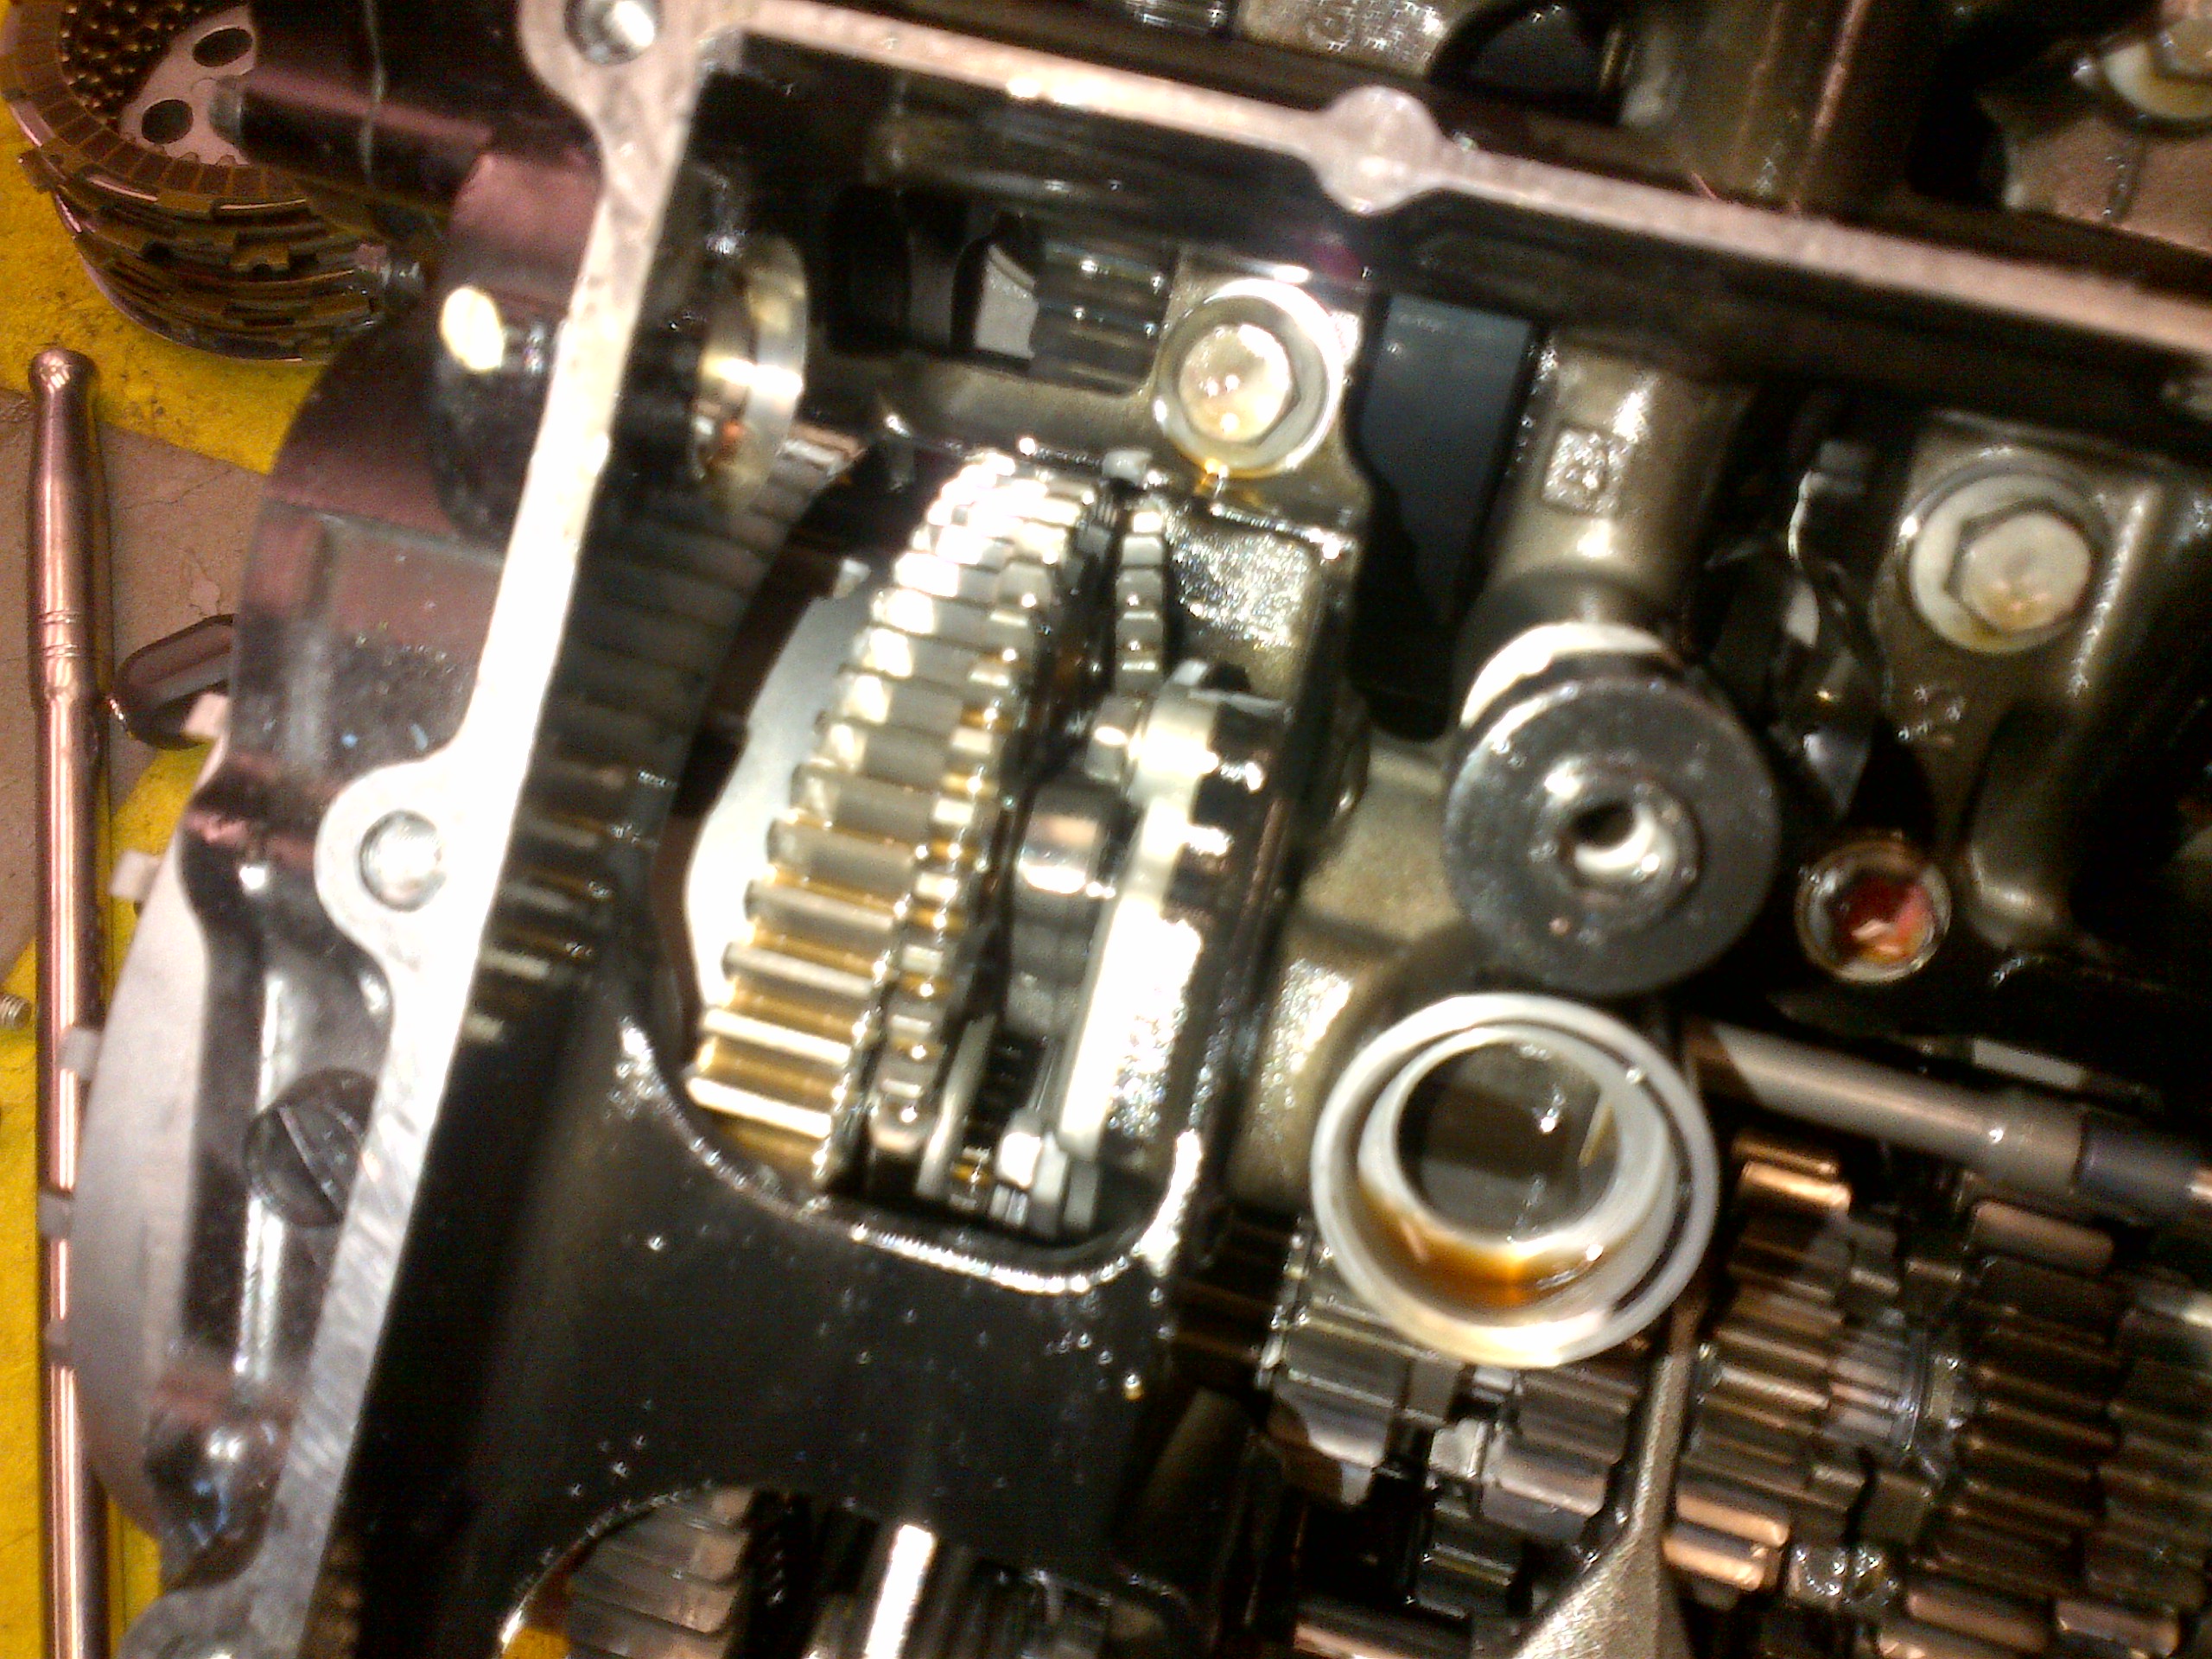
Broken Oil pump drive
On the left of this picture is the clutch basket with the big wide gear teeth on it, next to is is a much thinner gear … this is the oil pump drive, that is driven off a small gear hub in the centre of the clutch basket. Now if you look above the oil pimp drive you can see a small gear at an odd angle. This is actually part of the oil pump gear wheel. It’s a 60 degree segment which has broken entirely out of the oil pump drive gear. What appears to have happened is the oil pump drive gear broke, the broken bit was swept around with the remains of the main cog, and then it all jammed solid, dropping the oil pressure to zero instantly. But why did it break? We also found this
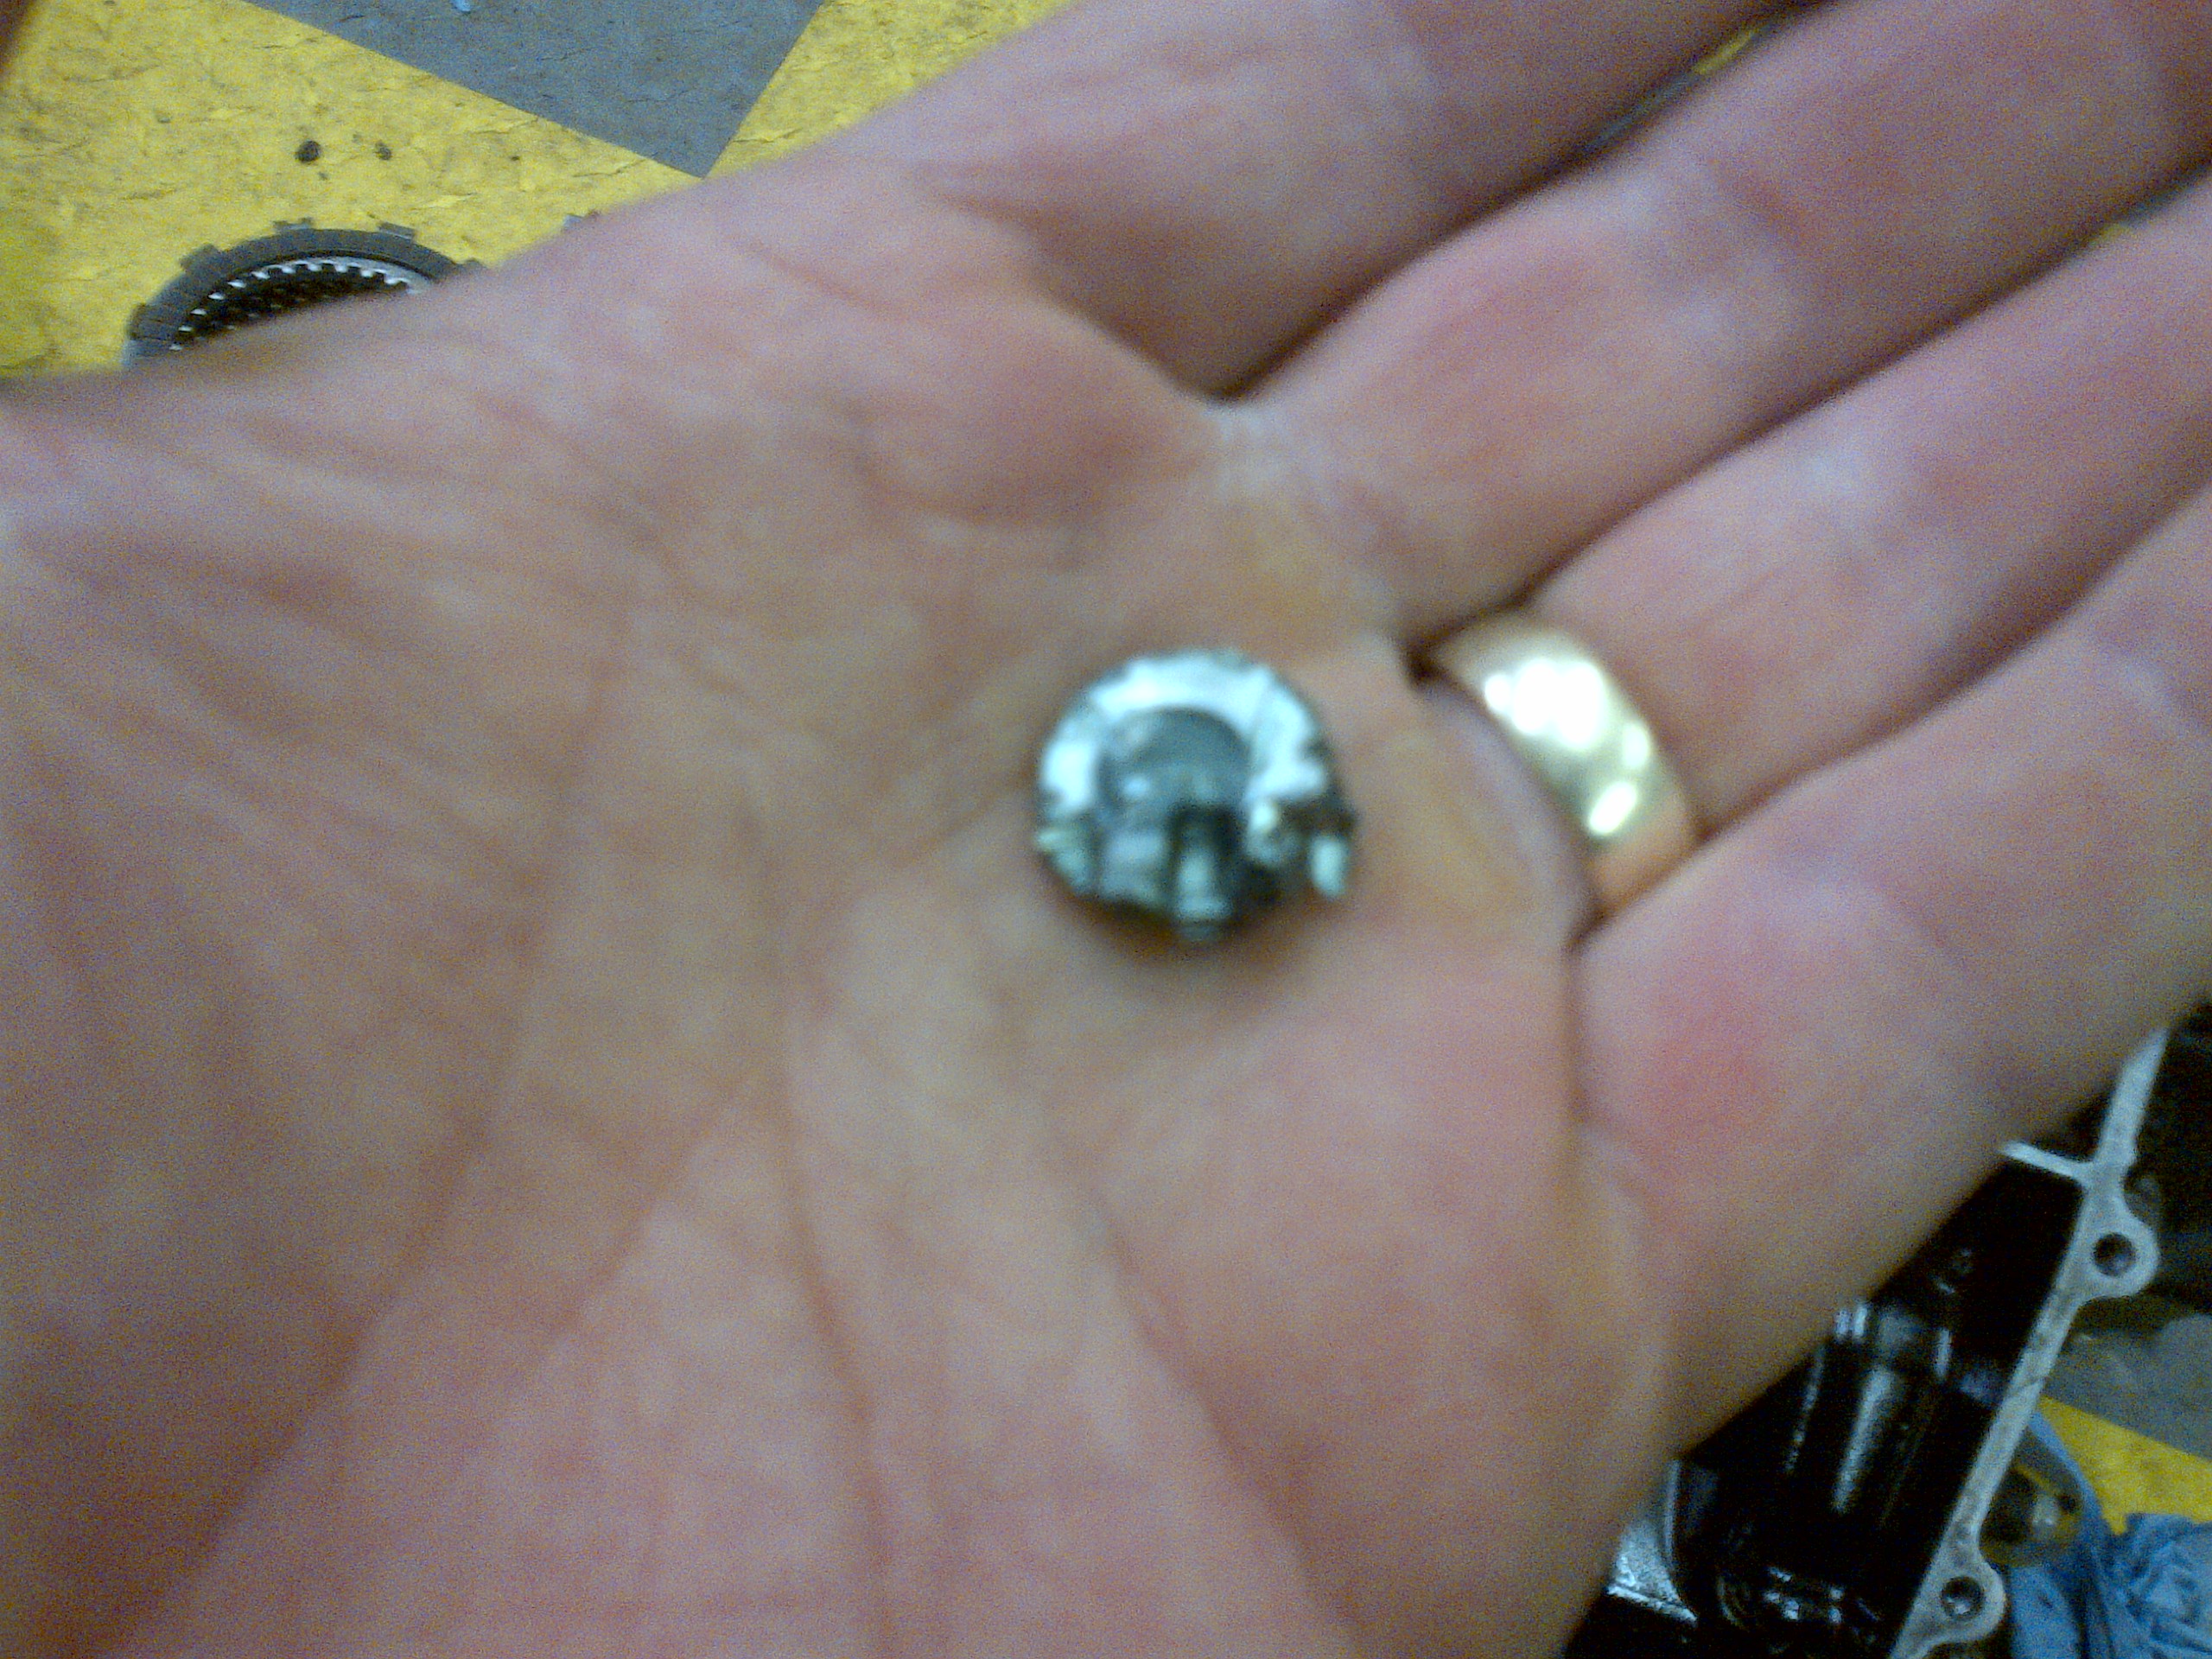
Broken Clutch Rivet
This is the back of one of the steel rivets that hold the clutch basket to the gear wheel you can see in the picture above. The indentations on it clearly match the gear teeth of the oil pump drive. So the chain of events looks to be clutch basket rivet fails, it goes through the oil pump drive gears, breaking them as it goes… the gears all jam up. dropping oil pressure to zero instantly, the lights came on, I failed to kill the engine quickly enough, and she seized. Remember that odd high speed vibration at the Birkett? I bet it was the clutch basket failing, rather than the Cv joint, hindsight is as they say an exact science.
Of course if I’d killed it as soon as the lights came on, maybe, just maybe I could have saved the engine. ![]() ! Of course, with a dead engine I was entreated to ditch the ZX10 and go for the more normal CBR1000 engine… problem is it is so damn expensive to change circa 4K.
! Of course, with a dead engine I was entreated to ditch the ZX10 and go for the more normal CBR1000 engine… problem is it is so damn expensive to change circa 4K.
The first actual race of the season was due at Brands hatch, so we cracked on and got the new engine in , and got the beastie aligned and corner weighted.
So I went testing at Brands. the Monday before the meeting. More in the next instalment.